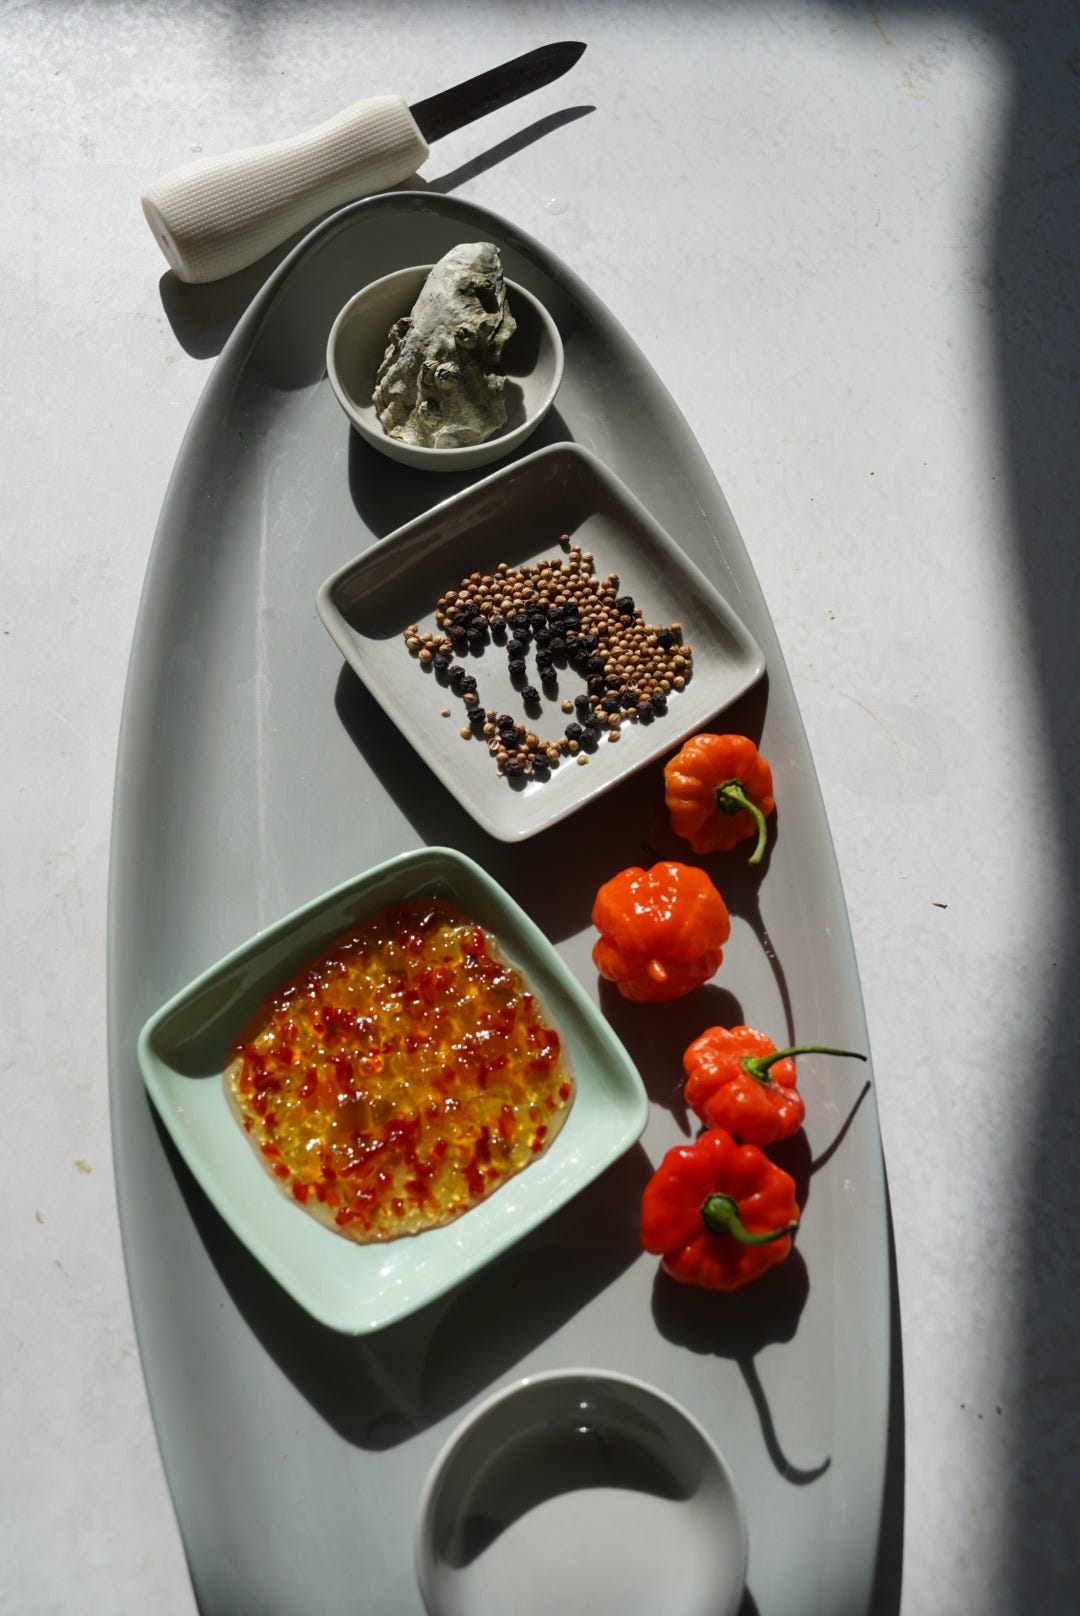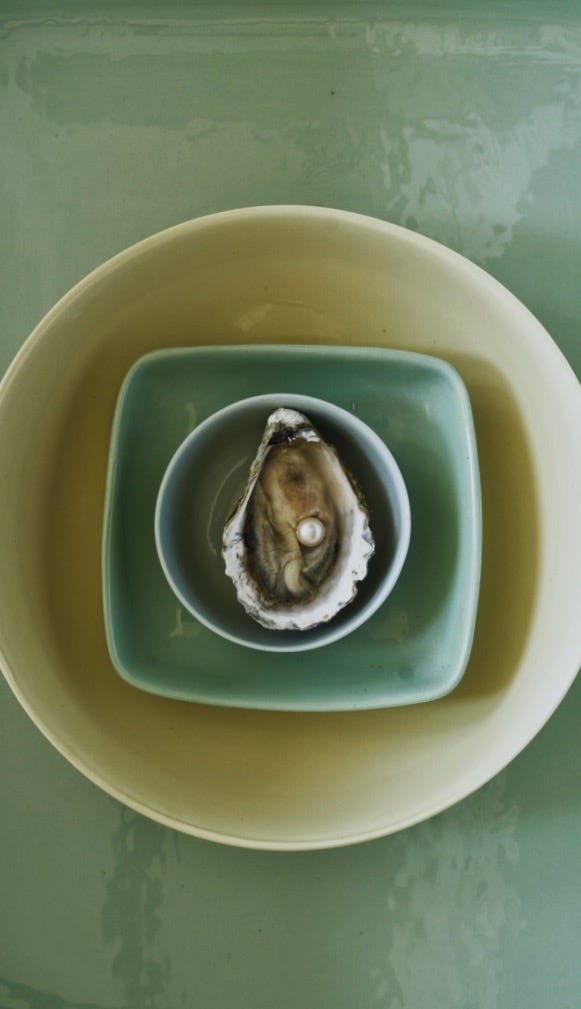
It’s oyster season, that’s if you follow the R-rule. It states that one should only consume oysters in months ending with “R.” During the other months, they spawn, making them less flavorful, and the warmer weather allows for dangerous bacteria growth. It’s one of those fun culinary traditions that’s stuck around, even if we don’t need to be as strict about it these days thanks to modern refrigeration and handling. Still, it adds a nice seasonal note to enjoying oysters at their best.
Oysters are alive and best eaten the moment they’re popped open. That can only happen when you shuck them yourself. They’re a mouthful of salty sea, close your eyes as you throw one back, its the feeling of just coming out of an underwater dip. Often enough, I won’t add anything to them, until mignonette sauce enters the chat. Just thinking about this savory, bright oyster relish makes my mouth pucker. Savory and peppery, it’s another one of those culinary traditions that’s stood the test of time, a genius pairing of spiciness and acidity with the briny creaminess of the oyster. But first, we prep.
Shopping and Selecting
Local is always better. The ones from too far away don’t hold as much of the briny seawater I love so much. They tend to be drier, but if you’ll be topping them with mignonette, it’s apples to apples.
To check if they’re alive, lightly tap two together. If one sounds hollow, it’s dead, throw it out. Eventually, you’ll be able to tell by simply picking them up and noticing the weight. If one feels unusually light, do the tap test. Oyster poisoning is a horrible thing. It happened to me once, September of 2002, I’ll never forget.
Once home, scrub them clean with cold water. Keep them in the fridge, over ice if you can, always as cold as possible.
Let them rest. If you handle them too much, they clamp up even tighter. The trip from market to home is a lot of movement for them. If you can buy them early in the morning and eat them that evening, that’s ideal.
Make your mignonette ahead of time so it has enough time to chill.
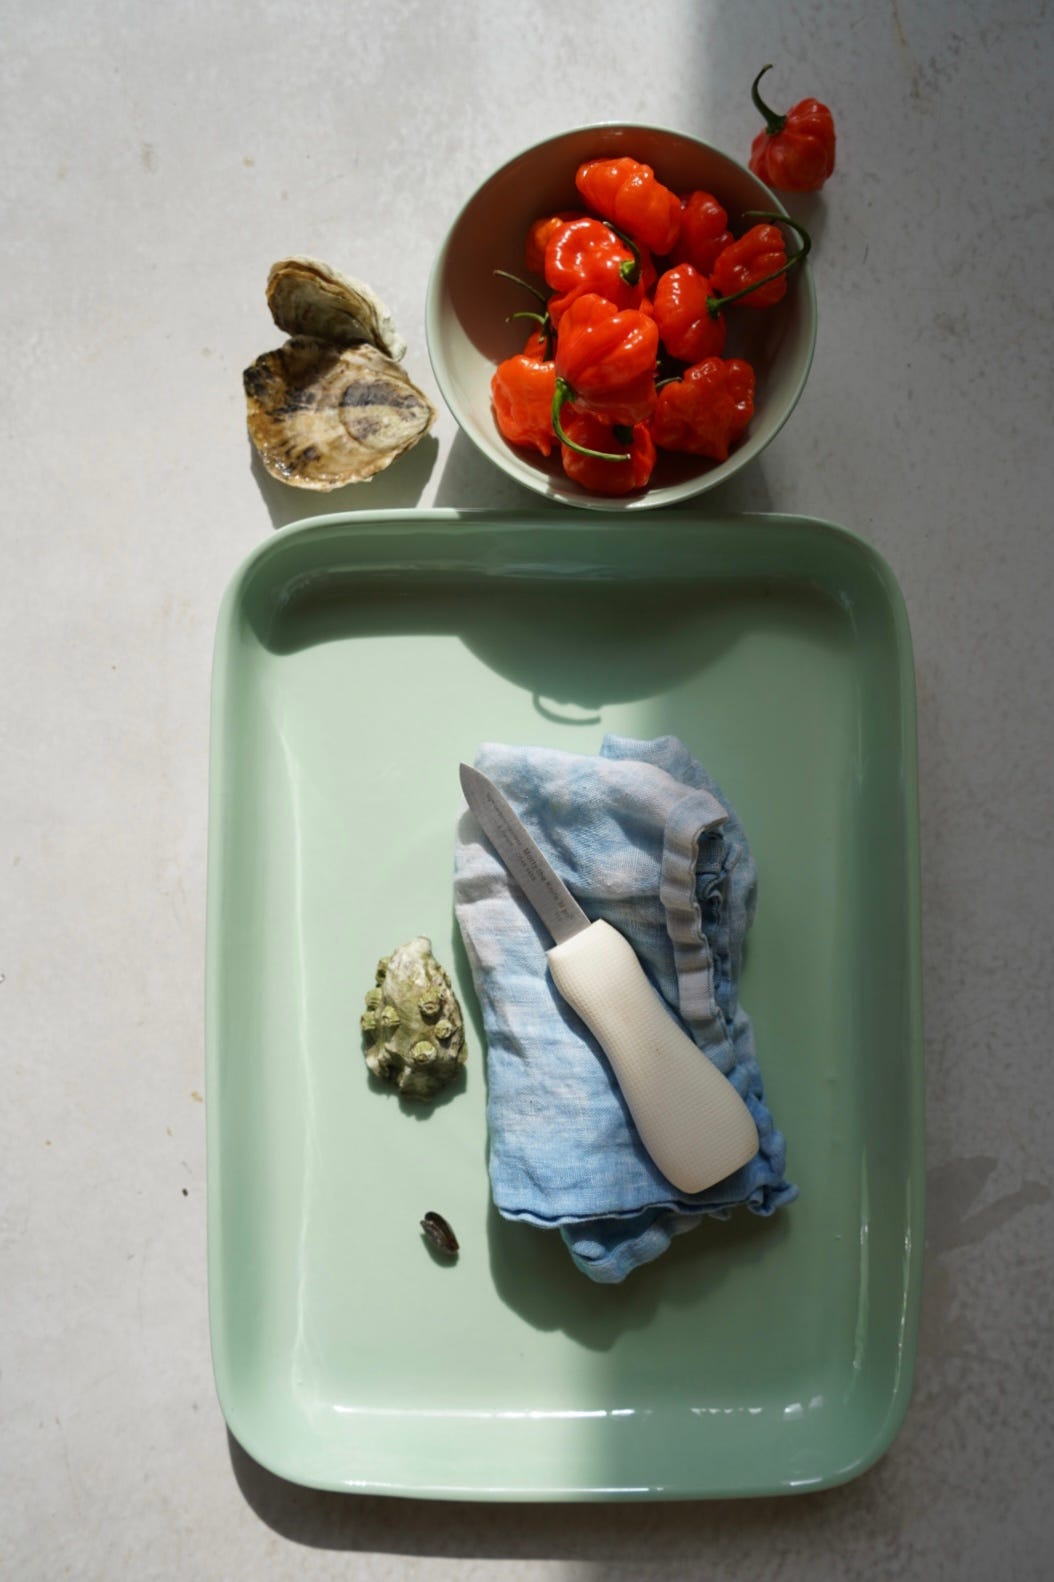
Equipment: The Oyster Knife
Some oyster knives are thin and pointy…don’t use those. Get one that’s wider with a stubby tip. They’re inexpensive and often sold by the same vendors who sell oysters.
The Anatomy
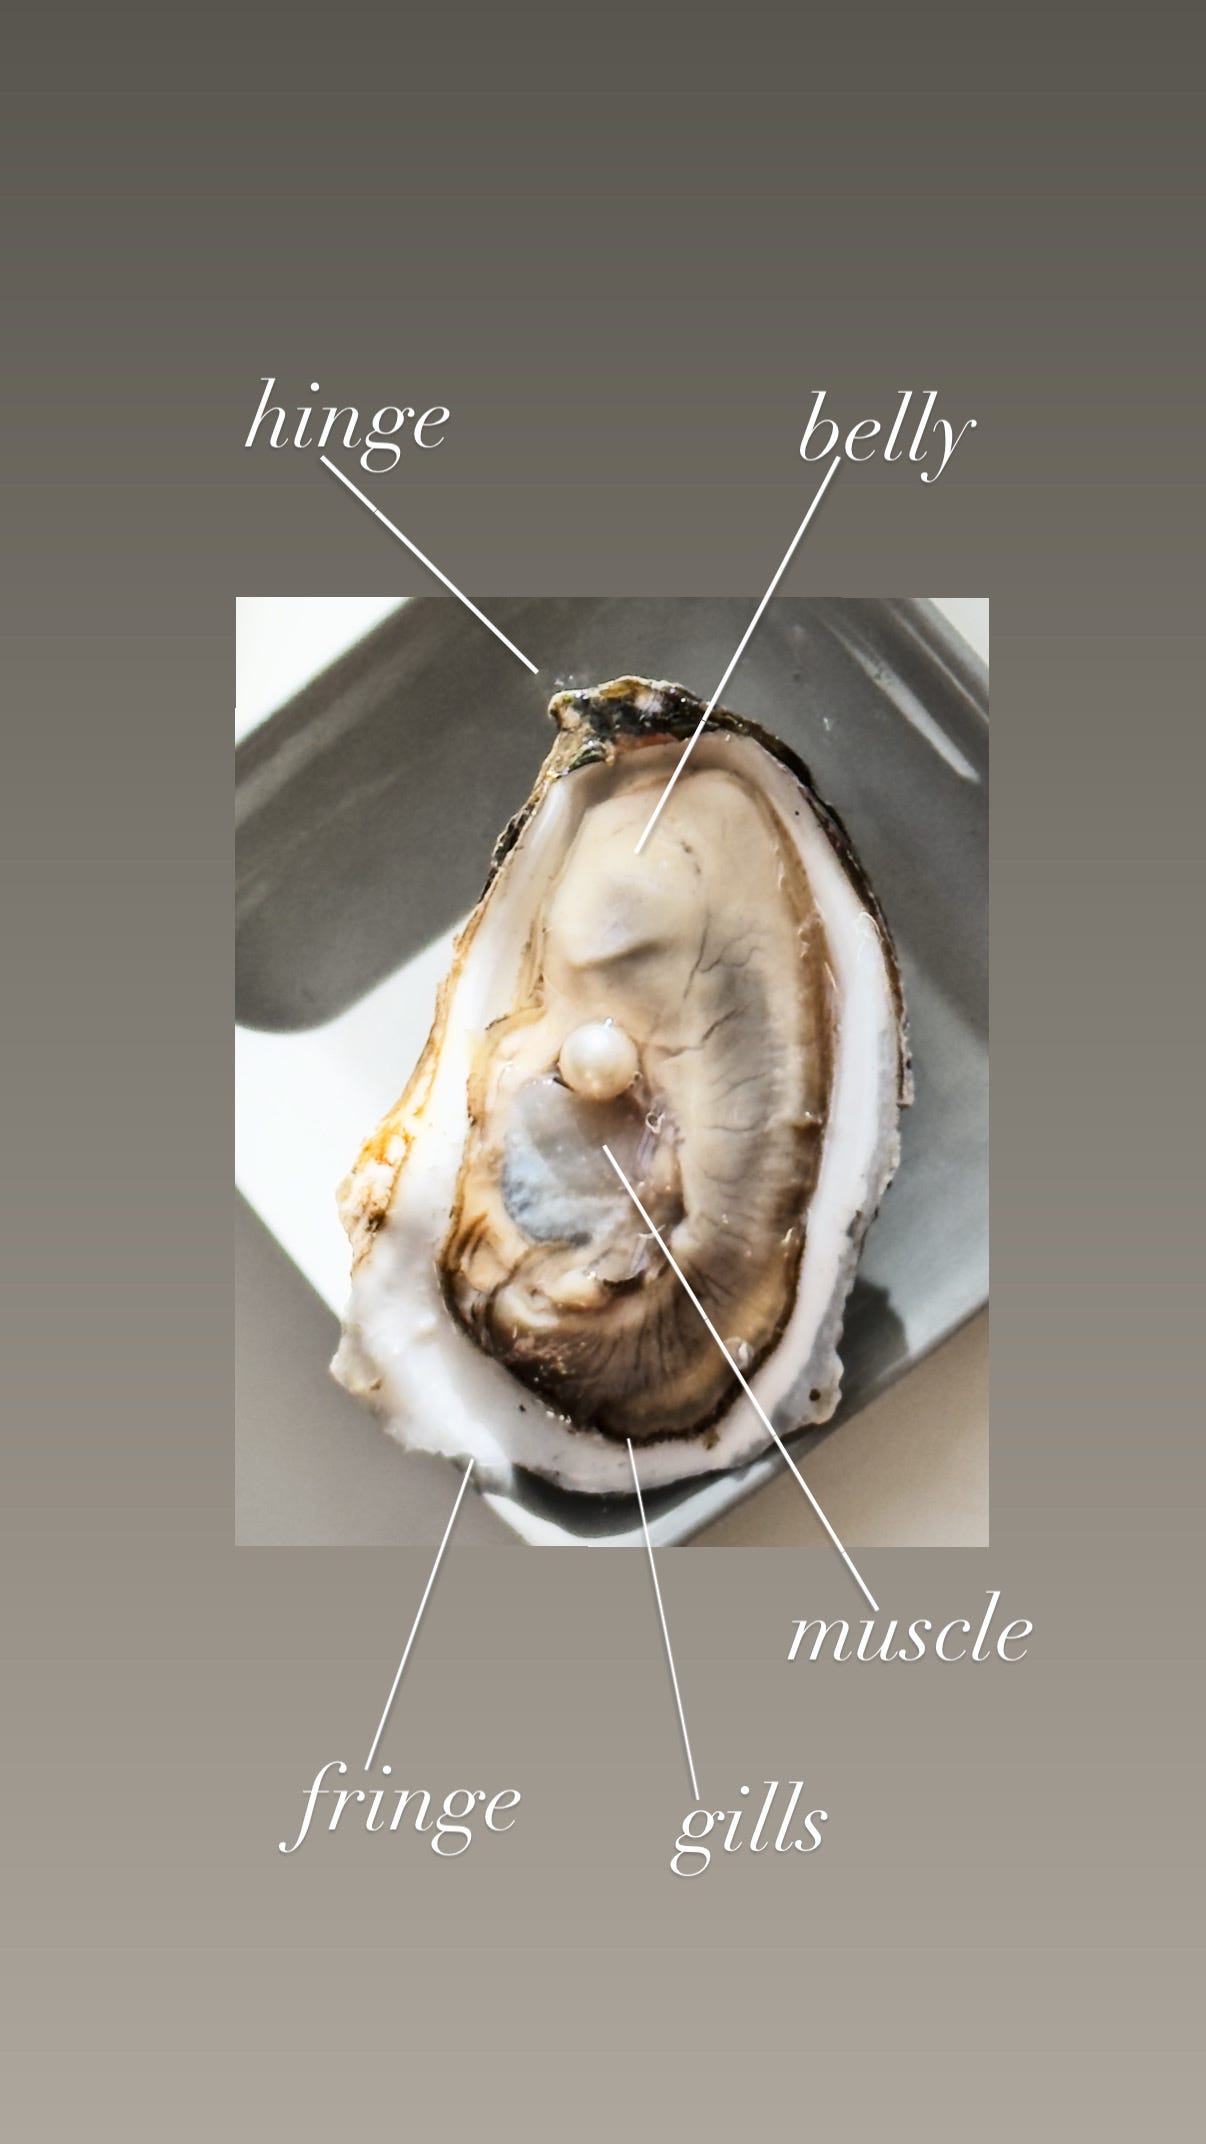
Next, familiarize yourself with the anatomy of an oyster. See diagram. The two parts you’ll need to know are the hinge — the pointed end where the top and bottom shells meet — and the muscle, the part inside that keeps the meat attached to both shells.
Once the hinge is open, the meat will still be attached. Glide your knife along the shell to detach it. Do the same for the bottom shell — gently — to avoid puncturing the belly, where all the cream is held.
Plating
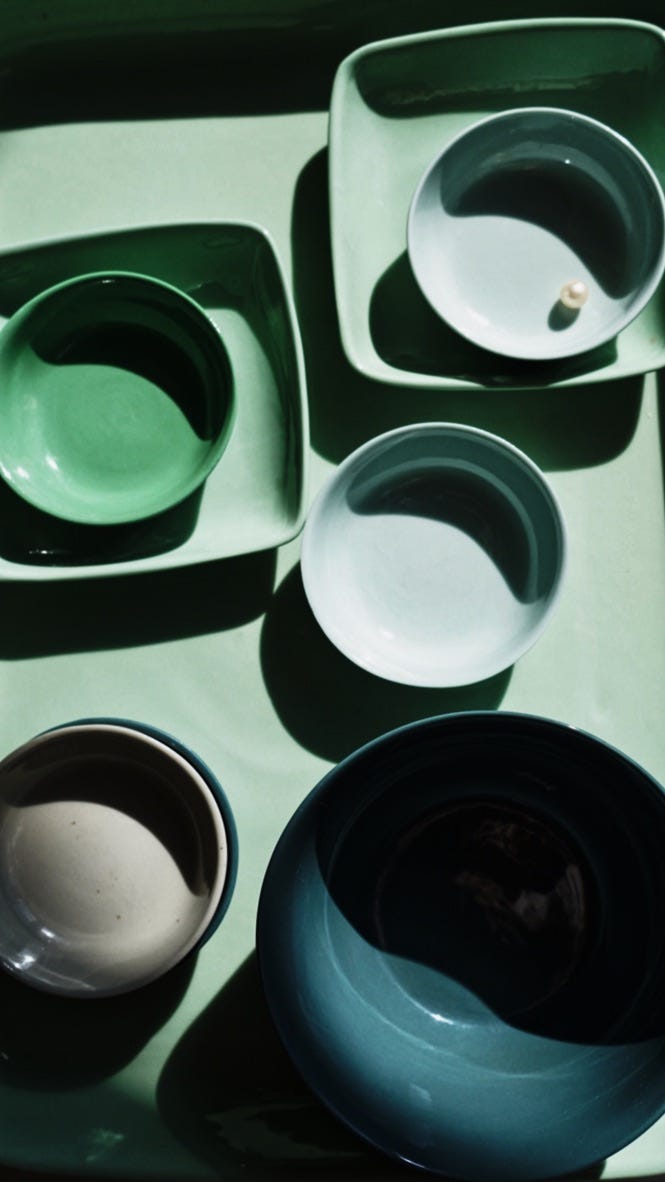
Use the most beautiful porcelain you have. Why porcelain? Because it’s light, and light means airy and cool. I’ve always been a fan of Mud Australia for that reason. Their pieces feel refined but easy, with shapes that make sense on the table. These pieces are some of my favorites — light, durable, and beautifully handmade. Their color palette moves between soft pastels and brighter tones. The platters are my favorites — simple, generous, and timeless.
Place a small mound of kosher rock salt or clean pebbles (chilled in the freezer for a while) to keep the oysters steady and cold.
How to Shuck an Oyster in Three Steps
Step One
Grab a kitchen rag, one you don’t mind getting dirty. Fold it so you can cradle an oyster in it; the bottom acts as a bed, the top as a blanket.
Look at your oyster and find the hinge. Tuck your oyster into its bed with the hinge pointed out. Cover it with the “blanket.”
Step Two
With your palm, apply pressure. Grab your oyster knife and, in a swift move, jam the point of the knife into the hinge. If you hesitate, they’ll sense fear and clamp up even more. You’ll feel it once you’ve gone in as far and you can comes the important part. Grip the knife as a motorcyclist would and twists it as they would to add gas. Another swift motion, done with conviction, will pop them open.
Step Three
Once it’s popped open, you’ll see it’s still attached inside. That’s the muscle. Glide your knife inside the shell until you feel it, then cut it free. Remove the top shell and do the same for the bottom attachment.


HOMEWORK
Pop open an oyster and eat it right away — plain. Taste that delicious, naturally filtered seawater if you’ve never done so before. Then follow the link to:
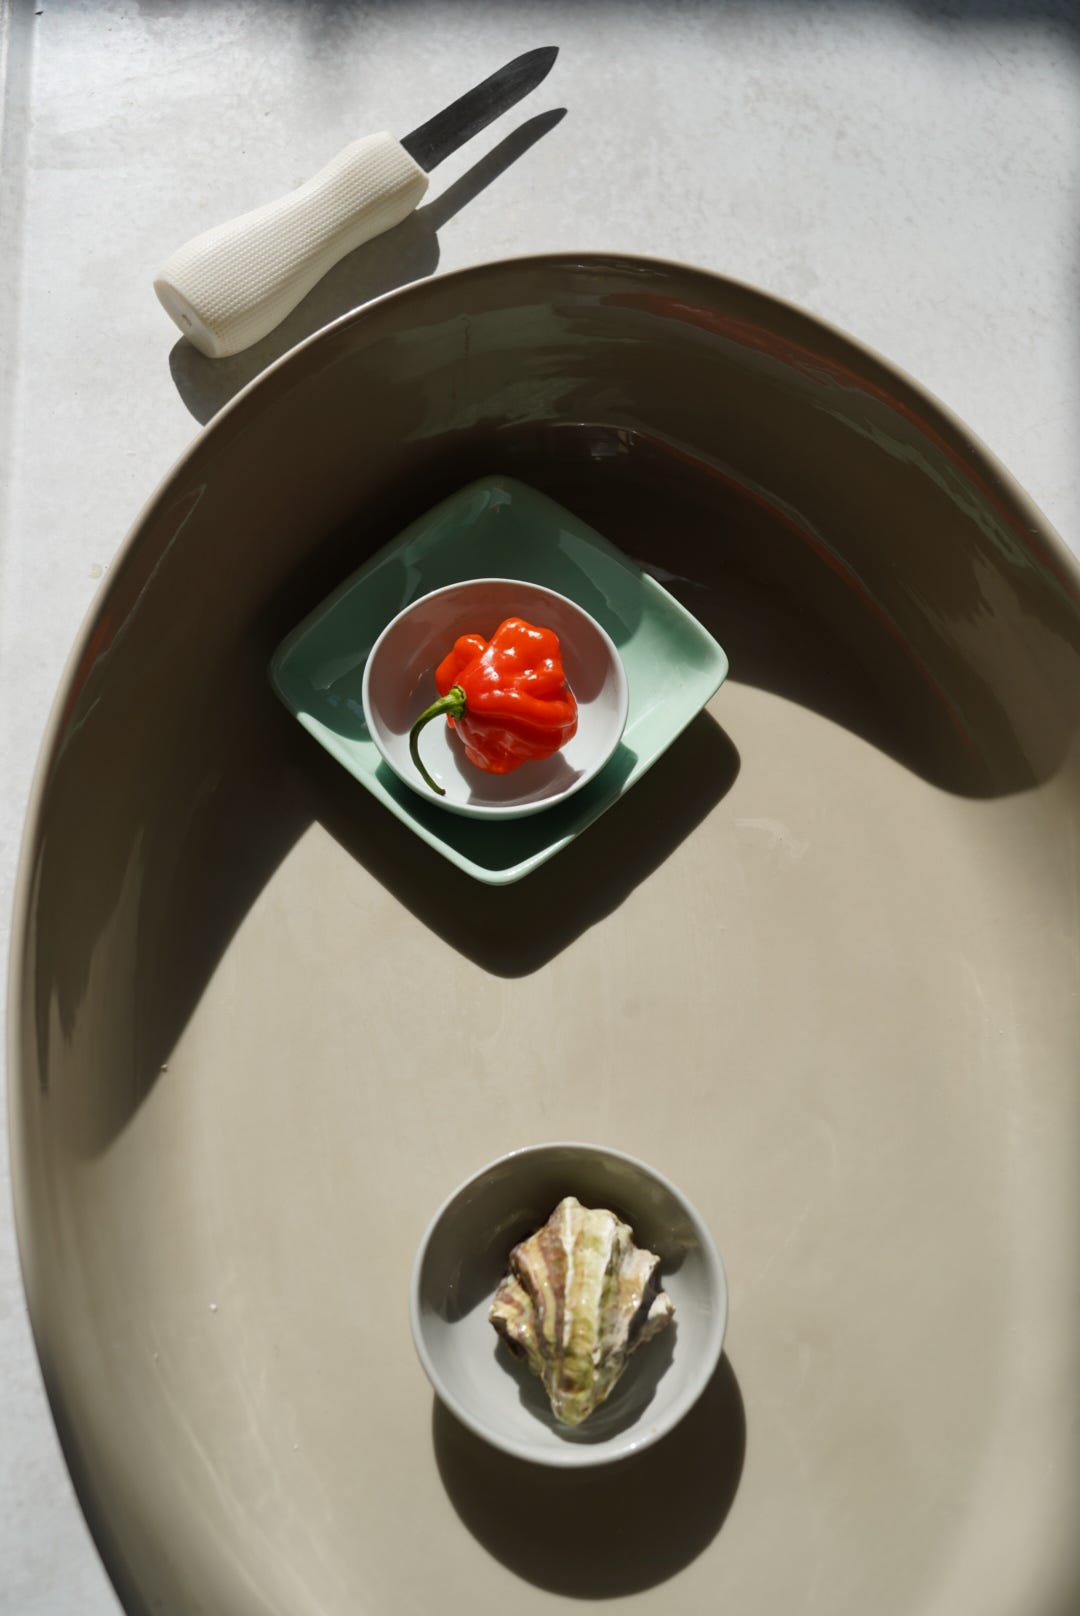
MY MIGNONETTE RECIPES — over at MUD
Four versions, actually:
Mother Mignonette
Variation I: Pepper Jam Mignonette
Variation II: Coriander Seed Mignonette
Variation III: Pickled Ginger Mignonette